Veracity for Class Maritime Portal
Documentation
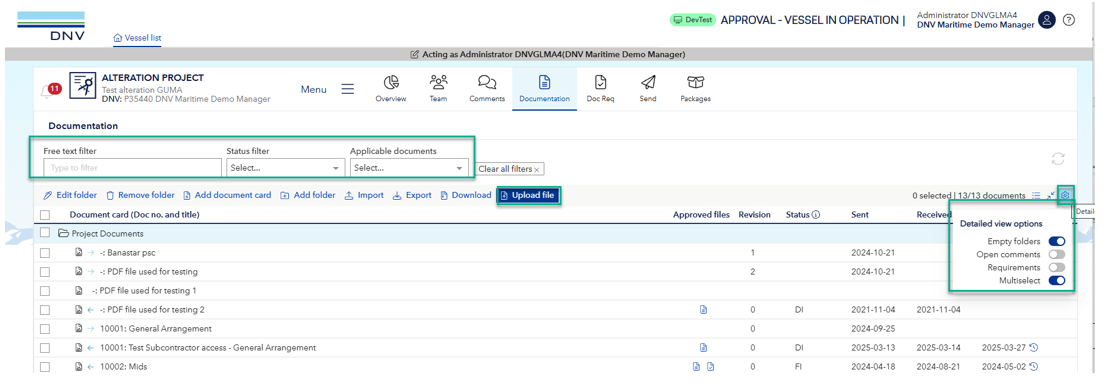
In this task the documentation for the project is shown. The default view is tree structure with folders and can be filtered and sorted as described below. The list contains document cards that act as parents for all the revisions. This means that if two revisions have been submitted to the same document, the list will only show the latest revision data.
Folders and document cards can be manually created. For alterations, document cards are generated by the system when a file is added and sent (see Send). A shortcut to the Send page is provided via the Upload file menu.
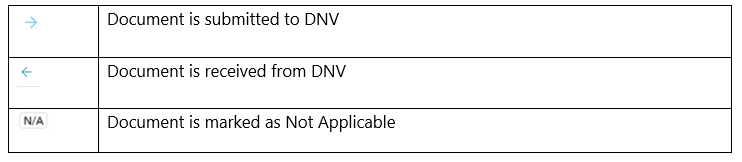
The arrows in front of the document indicates the following:
Shortcuts to download approval letters and approved files for the latest revision can be found in the Approved files column.
The Expected delivery date column will display the date when the documentation can be expected to be received from DNV. If empty, it means the date is not yet set.
The available filters are ‘Free text filter’, ‘Status filter’ (Sent, Not Sent and Received) and ‘Applicable documents’ (Applicable and Not Applicable). The ‘Free text filter’ can be used for title and drawing number. The ‘Status filter’ allows you to filter for example all documents Sent, Not Sent or Received documents.
It is also possible to set ‘Detailed view options’ eg, hide empty folders or show open comments. By selecting requirements, the document requirements that are connected to the documents are shown below the document. A new filter appears with possibility to filter mapped or unmapped documents ('mapped' means mapped to a Documentation requirement/DocReq).
To sort the documents on for example sent date, just click on the header. To change the sort order, click one more time at the header and the arrow will change direction. Since we have the tree view, the sorting will be inside of every folder, and to flatten the list use 
The document list is in tree view and all folders are expanded as default. It is possible to collapse  or expand all folders
  by clicking the icons.
When selecting a document, the following pane is opened:
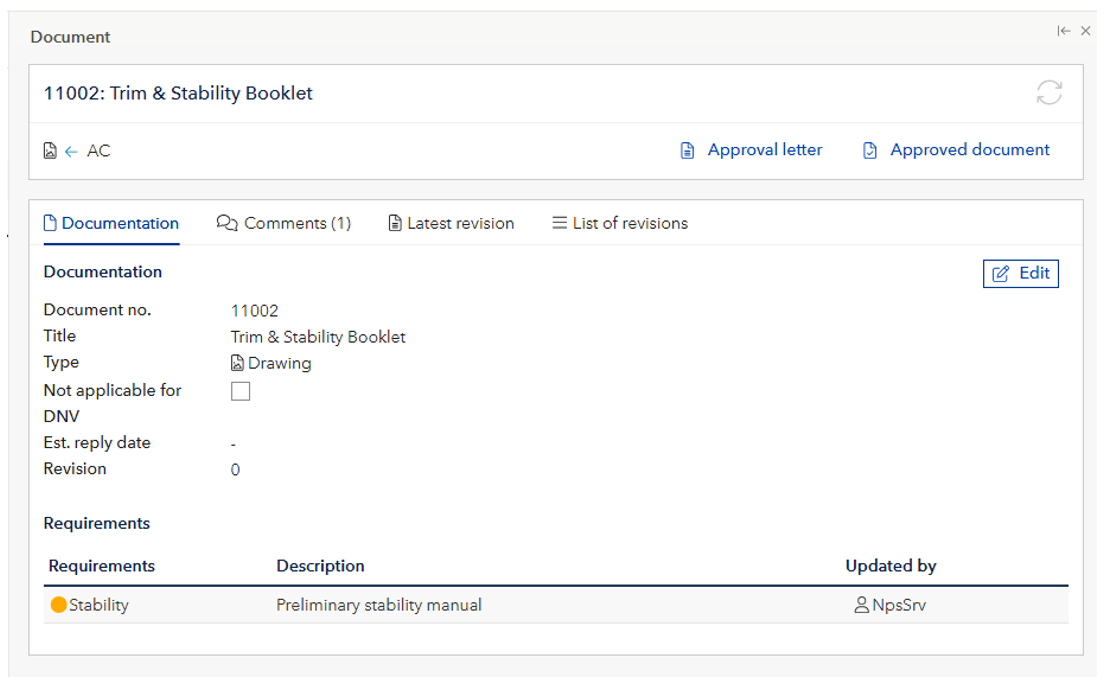
To download the approval letter and the stamped drawing you can use the links in the document details pane as explained above, but it can also be done in the document grid. You can multiselect documents for download. When choosing multiselect download, a zip file will be created that includes the latest approved revision and the approval letters to the selected documents. There is a limit of 30 documents per download.
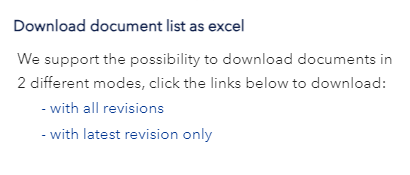
The document list can be downloaded to Excel using the 'Export' button.
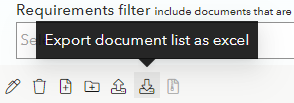
The Excel file will always contain all documents, which means that the filtering and sorting must be done in Excel.
To upload the list, use the 'Import' button:
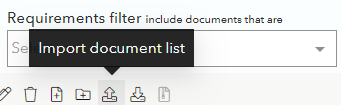
To upload a document list, a folder needs to be selected and the document structure will be inserted under that folder. Normally the root folder is selected for this operation.
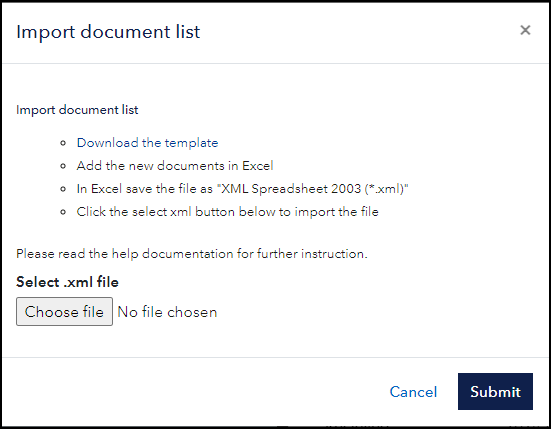
To create a document list, just download the template and add the documents, save the file as XML Spreadsheet 2003 (.xml), and upload the file. Please note that the folder that is selected will be the root folder for the document import.
Below is an example with a few documents that will be added under a folder with the title "10". The folder Projects Documents was selected before the import.
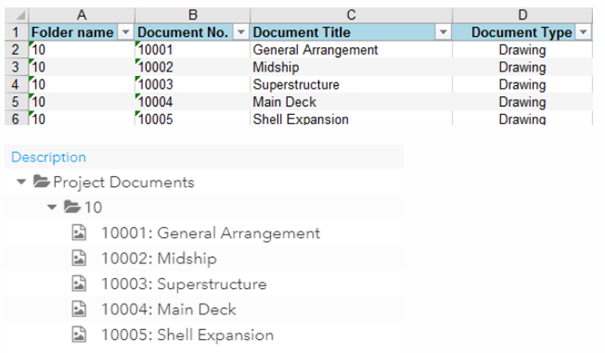
The applicable document types are: Drawing, Calculation, Report and Misc.
Please note that all document no and titles must be unique.
Folders can also be added manually using the icons on top of the folder list. It is not allowed to delete a folder containing already submitted documents.